![]()
![]()
In this post, I will be showing you how to deploy your React or Vue App using a custom Github Actions Workflow with a self-hosted runner. A self-hosted runner in Github is a system that you deploy and manage to execute jobs from GitHub Actions. You add this system to your server/VPS so that it listens to changes, such as pushing or merging to a certain branch, and then pulls the changes to your server/VPS. For more info self-hosted runners visit this Github Docs link.
First log into the VPS using an account that has SUDO privileges and create a folder for your web app in the /var/www/ folder:
user@server:~$ cd /var/www

user@server:/var/www$ sudo mkdir web-app-name
Remember to replace
web-app-namewith the name you want to give your web app folder. Use dashes or camelCase or PascalCase instead of spaces between words when naming.
The next thing we need to do is create a Github Workflow on Github. Open the repository you want to create a workflow for in a browser and head over to the actions tab.
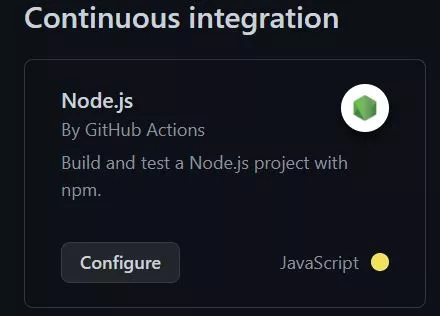
Next you can search for & select the node.js workflow template which we will modify to suit what we need.
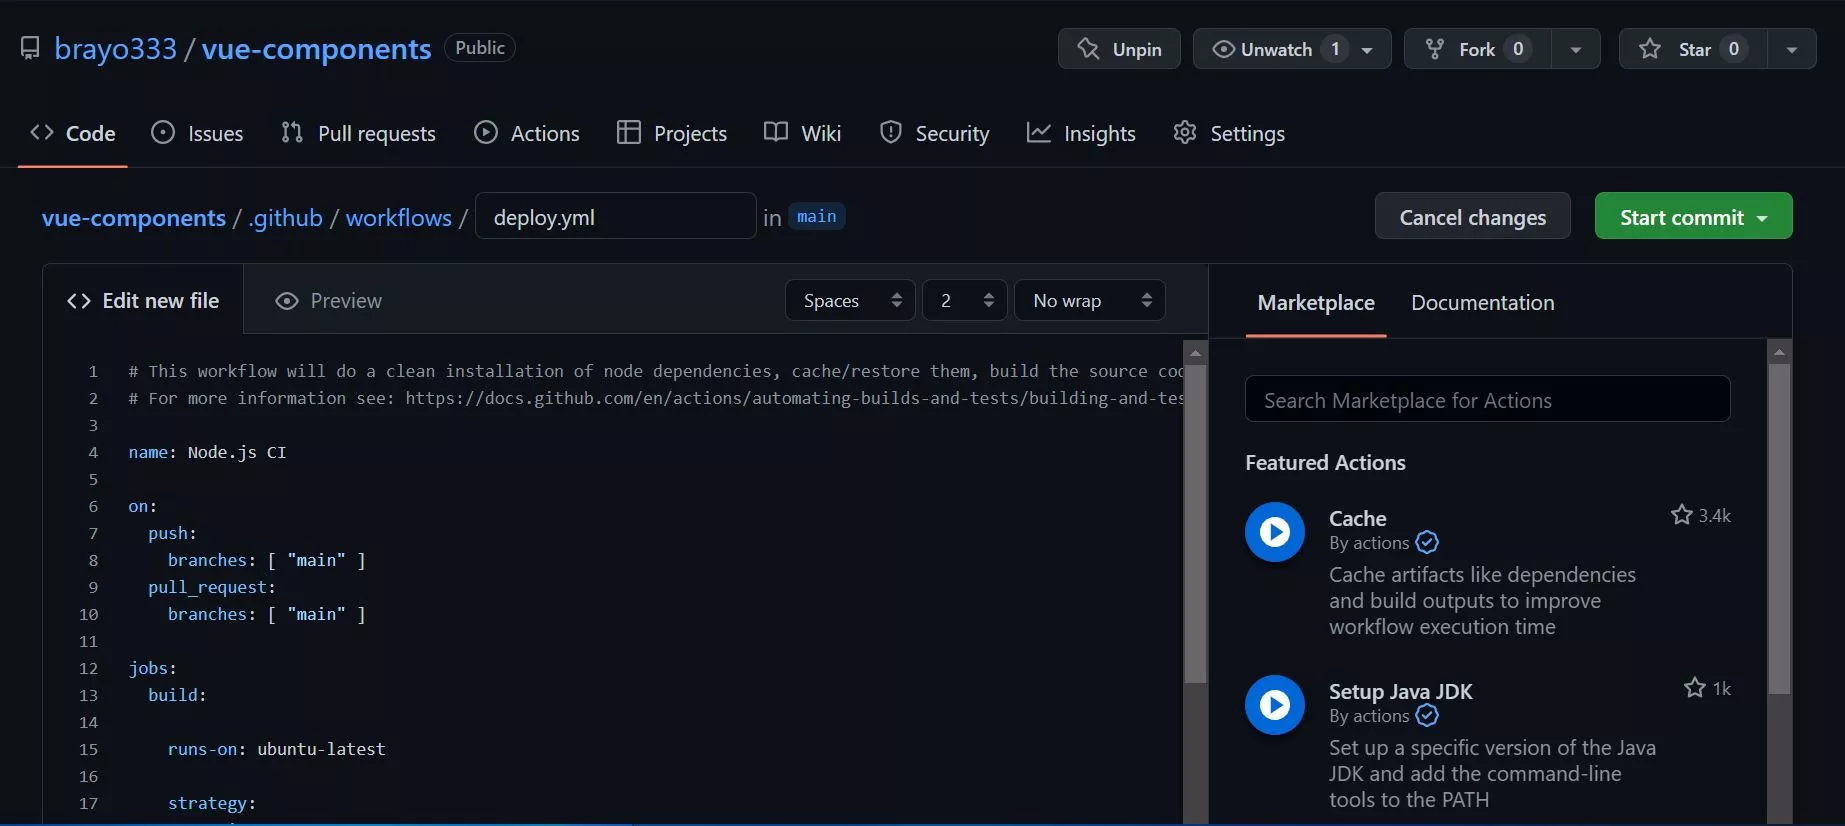
Next replace the contents of the yml file inside the 'Edit new file' tab on Github with the code below. You can change the name of the file to deploy.yml (and if you are familiar with writing yaml files you can edit the file to include running of tests here or creating more workflows for different repository branches).
# This workflow will do a clean installation of node dependencies, cache/restore them, build the source code and run tests across different versions of node
# For more information see: https://docs.github.com/en/actions/automating-builds-and-tests/building-and-testing-nodejs

name: Deploying Application

on:
  push: # the push: ensures the workflow is executed for both push or closing of a pull request to the specified branch
    branches: [ "main" ] #you can change the branch name to your preferred branch e.g :"deploy"
  #pull_request: # the pull_request: ensures the workflow is executed when a pull request is opened on the specified branch
    #branches: [ "main" ]

jobs:
  build:

    runs-on: self-hosted

    strategy:
      matrix:
        node-version: [16.x]
        # See supported Node.js release schedule at https://nodejs.org/en/about/releases/

    steps:
    - uses: actions/checkout@v3
    - name: Use Node.js ${{ matrix.node-version }}
      uses: actions/setup-node@v3
      with:
        node-version: ${{ matrix.node-version }}
        cache: 'npm'
    #- run: cp .env.example .env
    - run: npm i
    - run: npm run build --if-present
    - run: cp -r /home/user/git-runners/actions-runner/_work/name-of-github-repo/name-of-github-repo/dist/. /var/www/web-app-name #copies contents of the build/dist folder to the '/var/www/web-app-name' folder where it will be served up
for this last line
- run: cp -r /home/user/git-runners/actions-runner/_work/name-of-github-repo/name-of-github-repo/dist/. /var/www/web-app-name
replace
userwith the username for the account you are using on your VPS, we will add thegit-runnersfolder in a moment
replace
web-app-namewith the name of the folder you created in the/var/www/folder earlier
replace
name-of-github-repowith the exact name of the Github repository in which your React/Vue project exists (and yes, the folder name appears twice in the path)
if the project is a Vue project, you can leave
distthe way it is. If it is a React project, replacedistwithbuild
Click on 'start commit' after you are done then 'commit new file' to save the workflow.
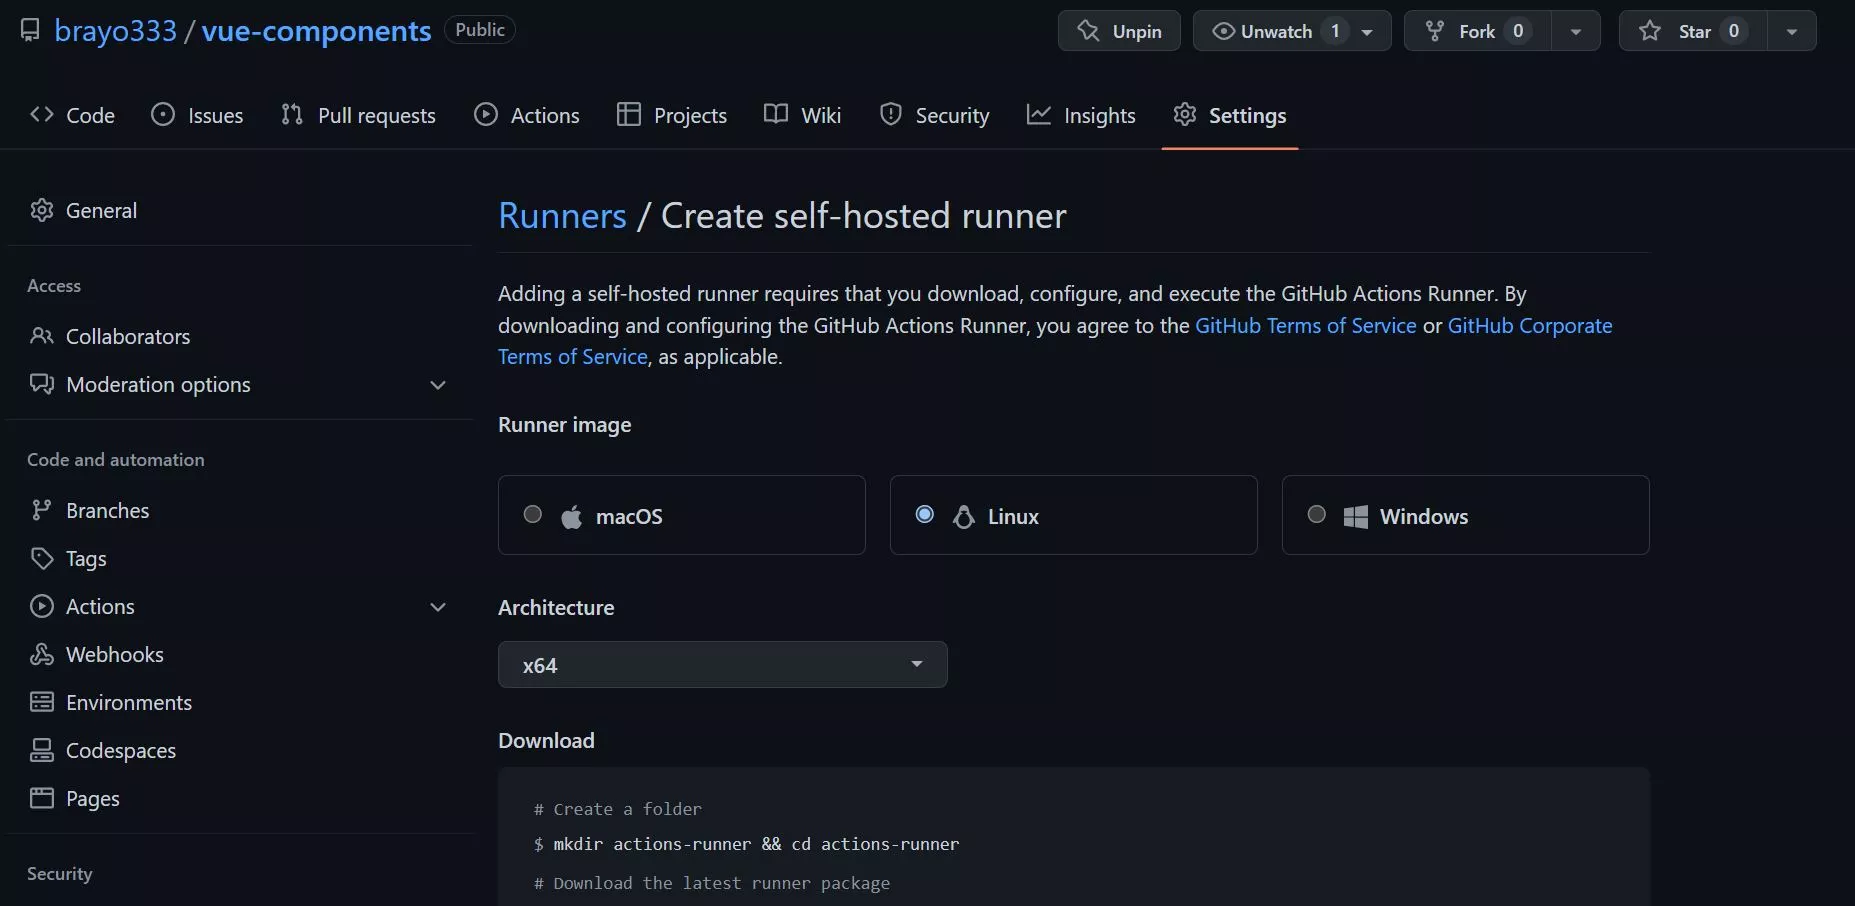
We need to install the self-hosted Runner from Github. We need to open the repository settings on Github (still on the browser) and look for the Actions tab. Click it and select Runners.
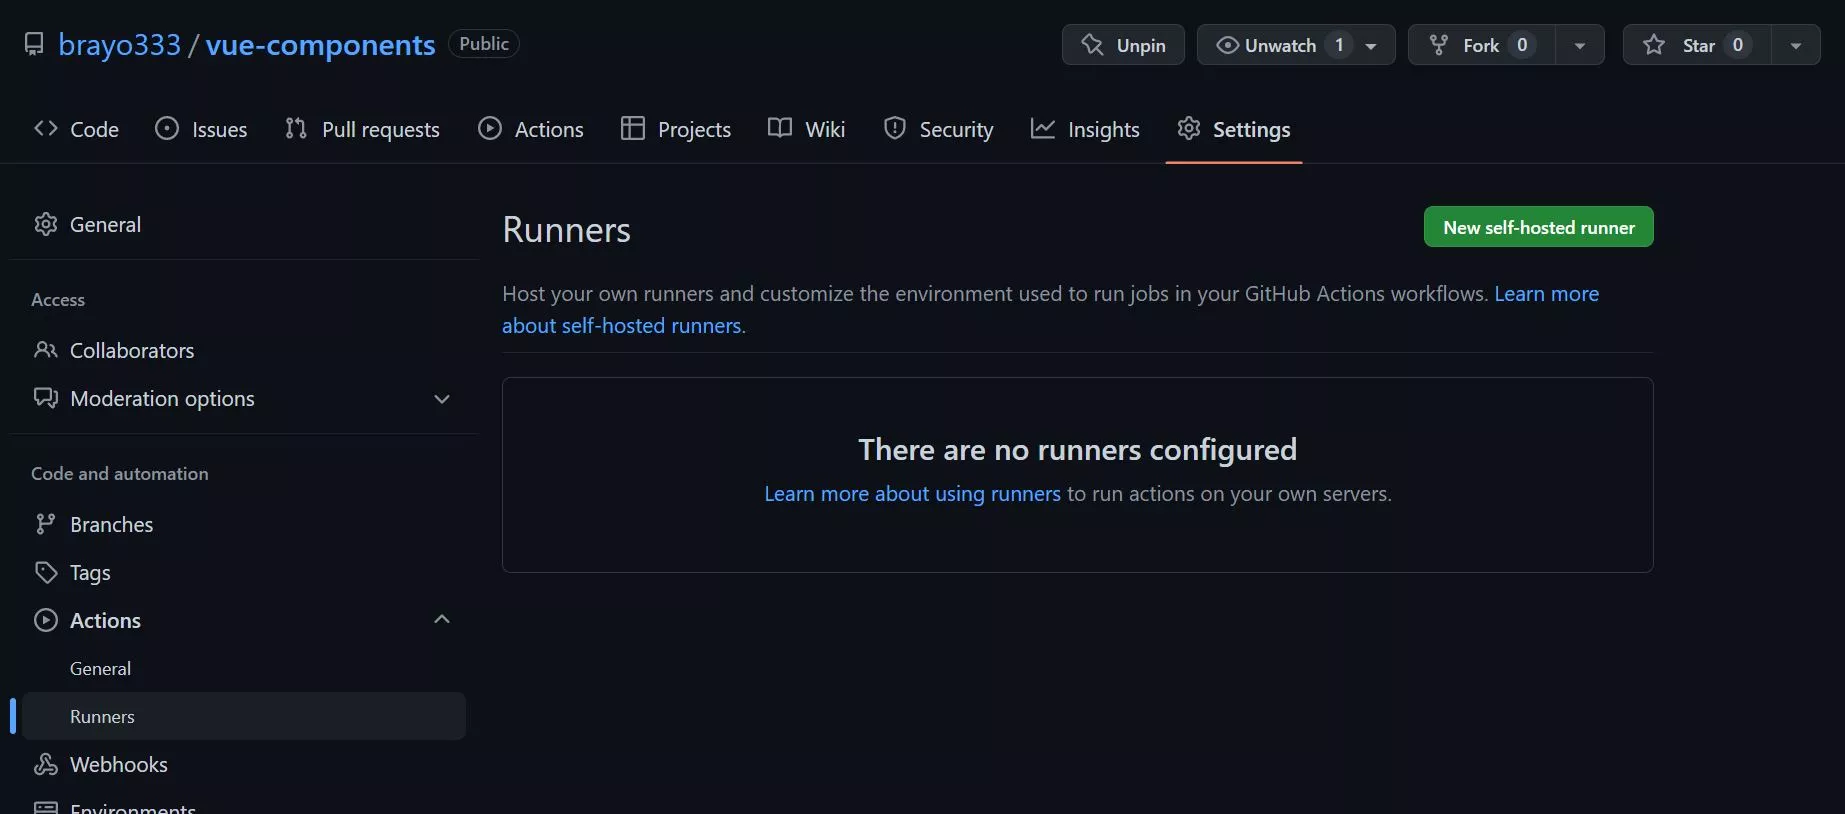
Click on the 'New self-hosted runner' button near the top right. Then select Linux and the architecture it runs on your server.
Next we head back to our VPS terminal and create a folder in the VPS user's folder where we will be storing the Github Runners.
user@server:/var/www$ cd /home/user

user@server:~$ sudo mkdir git-runners
user@server:~$ cd git-runners
replace
userwith the username for the account you are using on your VPS
Head back over to the browser and run the commands (in our VPS terminal) which Github had shown in the download section of the create self-hosted runner page.
Next, run the commands in the configure section of the same create self-hosted runner page. It will open a prompt where you will be required to respond to some of the options. Below are the options you can choose for this tutorial's purpose, you learn more about runners later on and choose the appropriate options for you.
Enter the name of the runner group to add this runner to: [press Enter for Default] # press enter without any value

Enter the name of runner: [press Enter for server] # you can enter your web-app-name here followed by '-runner' like this 'web-app-name-runner'

This runner will have the following labels: 'self-hosted', 'Linux', 'X64'
Enter any additional labels (ex. label-1,label-2): [press Enter to skip] # press enter without any value

Enter name of work folder: [press Enter for _work] # press enter without any value, if you do enter a name here remember to change the '_work' to the name entered here (in the repository workflow file)
After running the final command in the configure section which was:
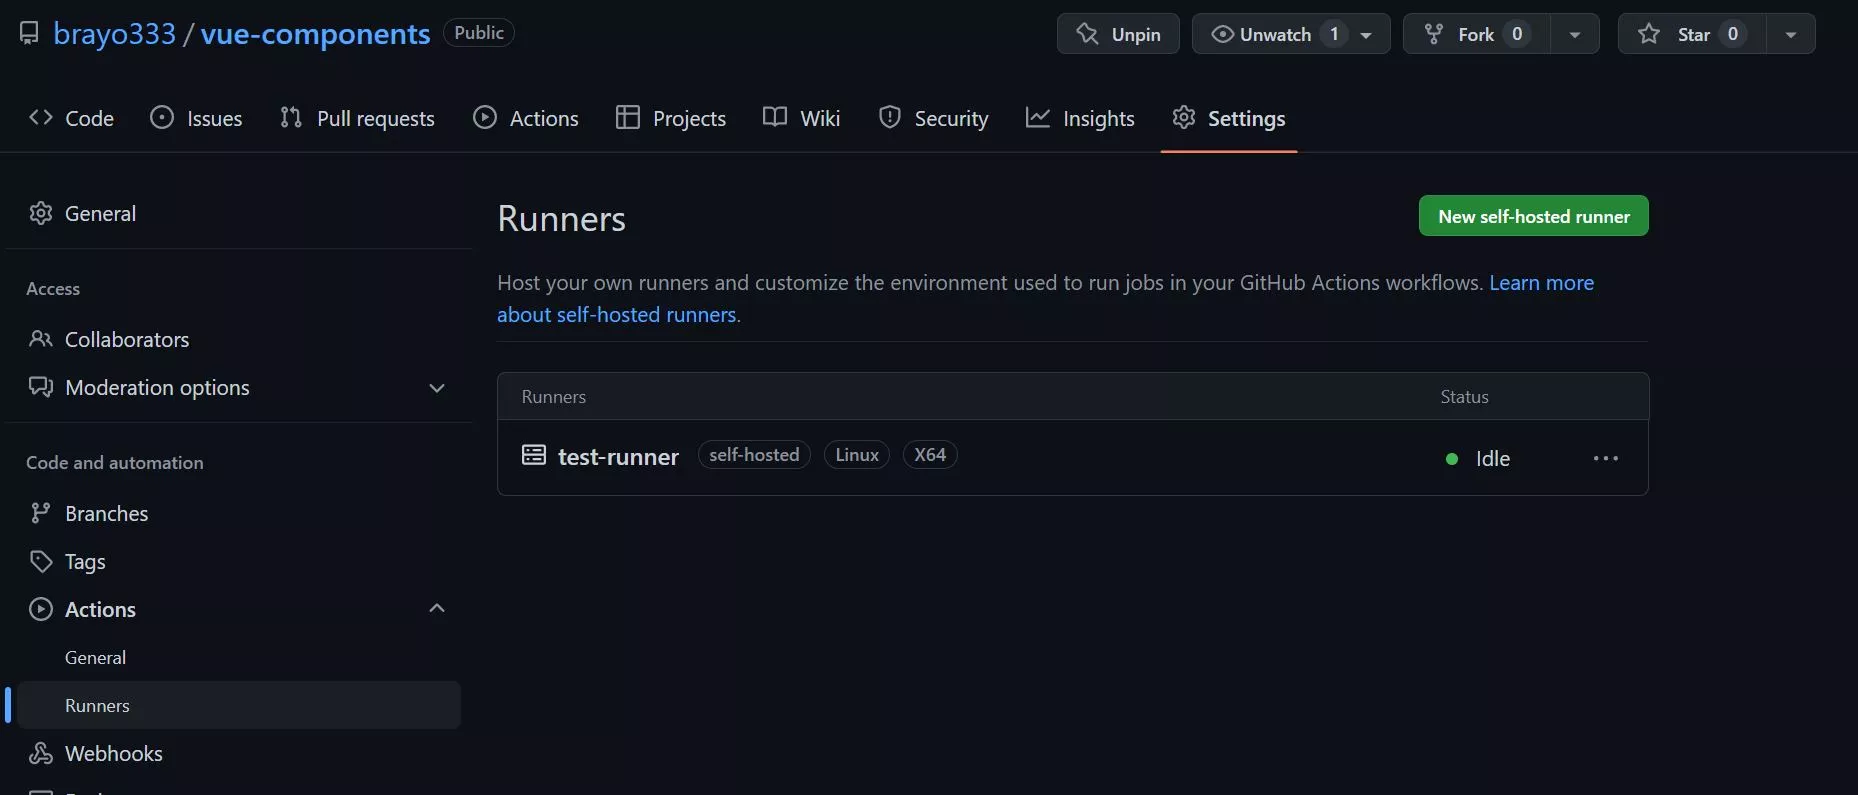
user@server:~/git-runners/actions-runner$ ./run.sh
you will see the runner running 😂 (the runner system) on the terminal. If you head back to the Settings > Actions > Runners tab of your repository (on the browser), you should see that the runner, with the name you had given it (web-app-name-runner), is idle.
The problem now is that our runner will not run when we close the terminal, right now it has been done manually. We want to make sure that the runner runs as a background service. To do that press crtl + c on the VPS terminal to stop the runner, then we run the following:
user@server:~/git-runners/actions-runner$ sudo ./svc.sh help #to see the various options you have

user@server:~/git-runners/actions-runner$ sudo ./svc.sh install #to install the service

user@server:~/git-runners/actions-runner$ sudo ./svc.sh start #to start

user@server:~/git-runners/actions-runner$ sudo ./svc.sh status #to check whether the runner is running as a service on your VPS
You can go back to the Settings > Actions > Runners tab of your repository (on the browser) to see if the runner is working fine (is idle).
You can follow the instructions in the 'sites-available sites-enabled approach' section (from that section only) then come back once you are done.
If you have set up everything well, you can test by pushing directly to the branch or opening and closing (merging) a pull request on the branch you had specified in the workflow. Afterwards, visit the domain/IP address you had configured for the web app in Nginx or Apache to see if the changes have been registered.
I hope this tutorial has helped. If you have any challenges or if anything isn't clear in the article, you can let me know in the comments section.